
Garage Gym Flooring: The Best Surface for Workouts
Ever dropped a loaded barbell and winced at the crack on the concrete? Here's the thing about a home gym, it only works if the floor does. Bare slab wrecks your bar, hammers your joints, and wakes the neighbours with every rep. The right flooring protects the concrete, cushions your body, and makes the space safe to train in properly. In this guide we'll cover everything you need to know about garage gym flooring, so you get the base of your gym right the first time.
Key Takeaways
- Never train on bare concrete, as it's hard on joints and equipment alike.
- Interlocking tiles give grip, cushioning, and protection in one easy layer.
- Match the floor to your training, with more cushioning for heavy weights.
- Tiles and rubber both lay straight over concrete with no glue and no mess.
Why Concrete Alone Won't Do
Let's be honest, a bare garage slab is about the worst surface you can train on. It's cold, unforgiving, and offers zero grip once you start sweating through a hard session. Every rep on concrete takes a small toll on your body and your kit.
Drop a weight and you'll damage both the floor and the equipment, chipping the concrete and jarring your bar and plates. Hard concrete also punishes your knees, ankles, and back over time, quietly cutting your sessions short. A proper gym floor sorts all of that in one go, protecting the slab, your joints, and your kit in a single layer.
Interlocking Tiles: The All-Rounder
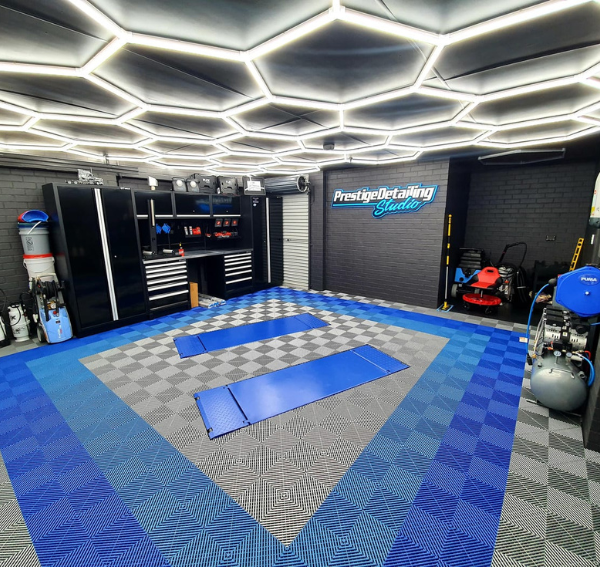
For most garage gyms, interlocking floor tiles are the answer. They give you grip underfoot, cushion the impact, and click together over the concrete in a single afternoon. There's no glue and no mess beyond a quick sweep first.
If a tile ever wears out you just lift it and click a fresh one in, so the floor keeps looking good for years. Our interlocking garage floor tiles lay straight over the slab and stand up to daily training without fuss. They warm the room and cut the echo too, which honestly makes the whole gym a nicer place to be.
Cushioning for Your Joints
If you lift, do floor work, or spend long sessions on your feet, cushioning matters more than anything. A hard floor leaves you aching afterwards and shortens every workout while you're on it. The right bit of give keeps you training comfortably for longer.
Anti-fatigue tiles add a layer of cushioning that takes the strain off your knees and back through the session. Our guide to anti-fatigue garage flooring explains how the cushioning works and where it helps most. That comfort is often the difference between a gym you use every day and one you quietly start skipping.
Rubber Flooring for Heavy Lifting
If free weights and a power rack are your thing, take a proper look at rubber flooring. It's dense, tough, and built to take dropped weights without flinching or cracking. For serious lifting, nothing else protects the slab quite as well.
Rubber shields the concrete from heavy plates and deadens the noise of a dropped bar, which keeps the peace at home. Our rubber garage flooring guide weighs up whether it's right for your setup. Plenty of gyms lay rubber in the lifting zone and tiles across the rest, getting the best of both worlds.
Match the Floor to Your Training
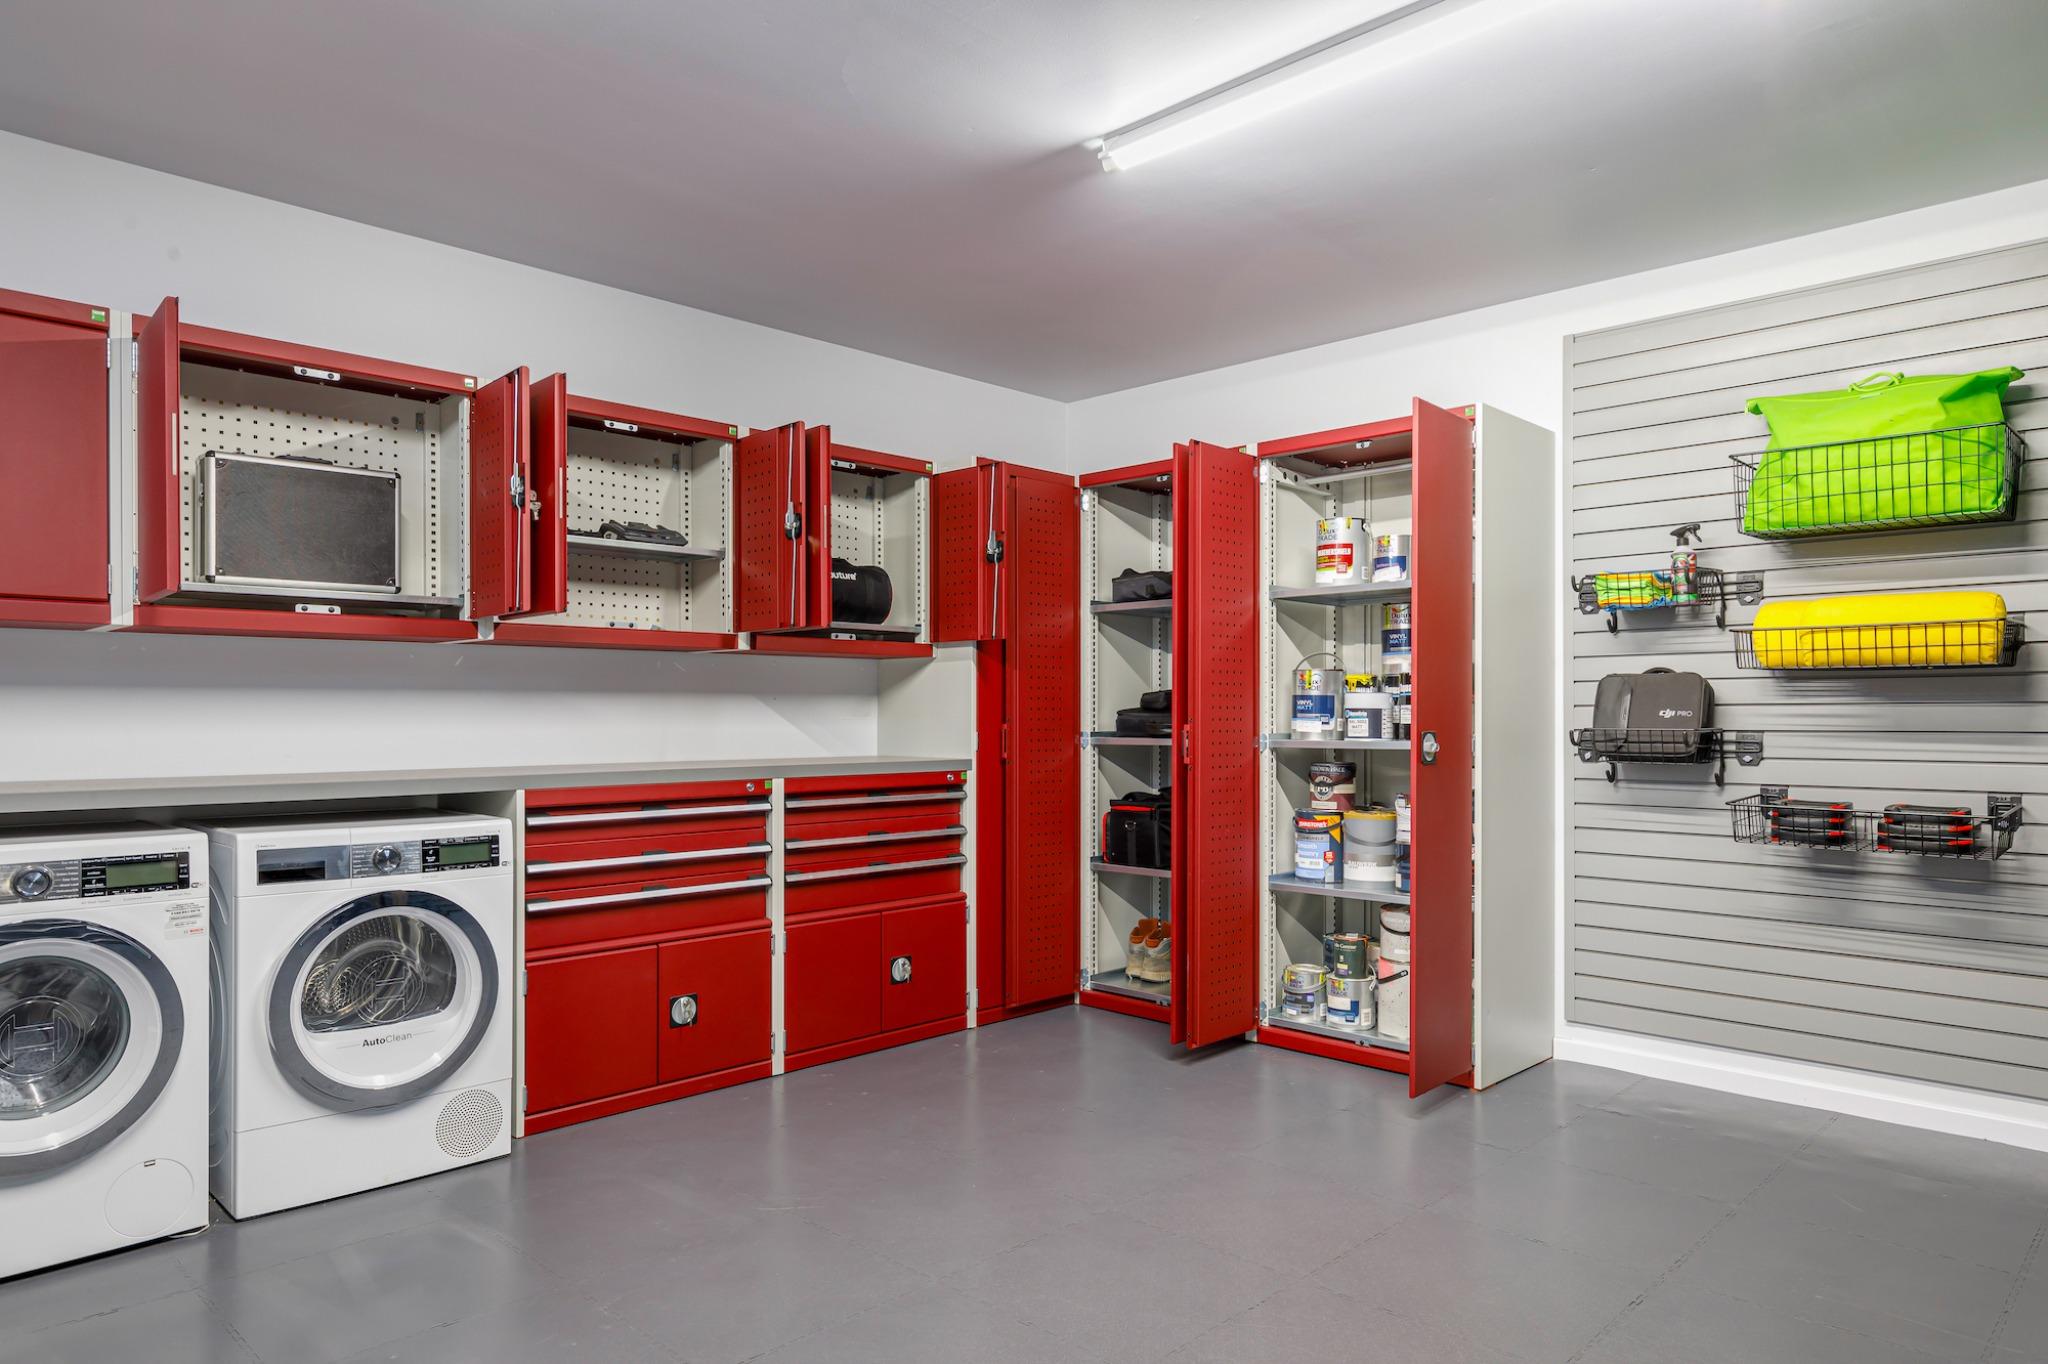
The best floor really does depend on what you actually do. A cardio and bodyweight setup wants grip and a bit of cushioning to protect your joints on longer sessions. A weightlifting gym needs serious impact protection right where the bar lands.
A functional space with sleds and kettlebells wants a hard-wearing, grippy surface across the whole floor. If your gym is all about lifting, our guide to garage floor tiles for home gyms goes deeper on the best tiles for the job. Spend the money where the impact is and keep it simple everywhere else.
Keep It Dry and Grippy
Sweat and condensation will turn a gym floor slippery and unpleasant to train on. A textured tile surface holds its grip even when things get damp mid-session, which really matters for safety. A slick floor is an injury waiting to happen.
Tiles that let a bit of air move underneath help the slab stay dry, which is a genuine concern in a cold UK garage. Wipe the floor down after sessions and it stays clean, safe, and fresh for the next one. A dry floor also protects your equipment from rust over the winter months.
How Many Tiles You'll Need
Working out quantities is dead simple. Measure the length and width of the garage, multiply them for the floor area, then add around ten percent for cuts and offcuts. It's always better to have a little spare than to run short halfway through.
Most people tile the whole floor for a clean, finished look, though you can just floor the training zone to save a bit of money. Order a few spare tiles at the same time, so you can swap a worn one years later without hunting for a matching colour. Keeping those spares means the floor stays looking its best for the long haul.
Position Your Equipment on the Floor
Once the floor's down, where you put your equipment shapes how the whole gym works. A good layout keeps the heavy kit stable and leaves clear space to move and lift safely. It's worth planning before you bolt anything into place.
Stand the rack and heavy machines on the firmest, most level part of the floor, ideally against a solid wall. Leave a clear drop zone with the toughest flooring where the bar will land. Keep a walkway around everything so you can move freely and reach your kit without climbing over weights.
Share Story


